Most ecommerce sellers land on Canva because it is free, familiar, and already handles their social graphics. But when it comes to actual product photography - placing your product in a realistic scene, removing the background cleanly, and generating lifestyle shots that look like a studio produced them - Canva is the wrong tool. It was built for graphic design, not photorealistic product imagery. A Canva alternative for product photography needs to do something fundamentally different.
Why Canva Falls Short for Product Photography
Canva is a template compositor. It layers images, shapes, and text on top of each other. For social media banners or pitch decks, that is exactly what you need. For product photography, it creates three hard limits.
Background removal
Canva's built-in background remover is a paid feature and performs inconsistently on products with complex shapes, shadows, or transparent packaging. Any imprecision at the product edge is immediately visible in a listing image context where buyers are looking closely.
Scene realism
After removing the background, Canva places your product on top of another image. The result is a composite, not a photograph - the lighting on the product does not match the lighting in the background, there is no shadow, and there is no surface reflection. Buyers recognize this instantly.
Scalability
Every background swap in Canva is a manual design task: remove background, drag product onto the new image, resize, reposition, adjust, export. For a 10-SKU catalog across three scene types, that is 30 manual sessions. No batch generation, no scene prompt, no AI.
What AI Product Photography Does
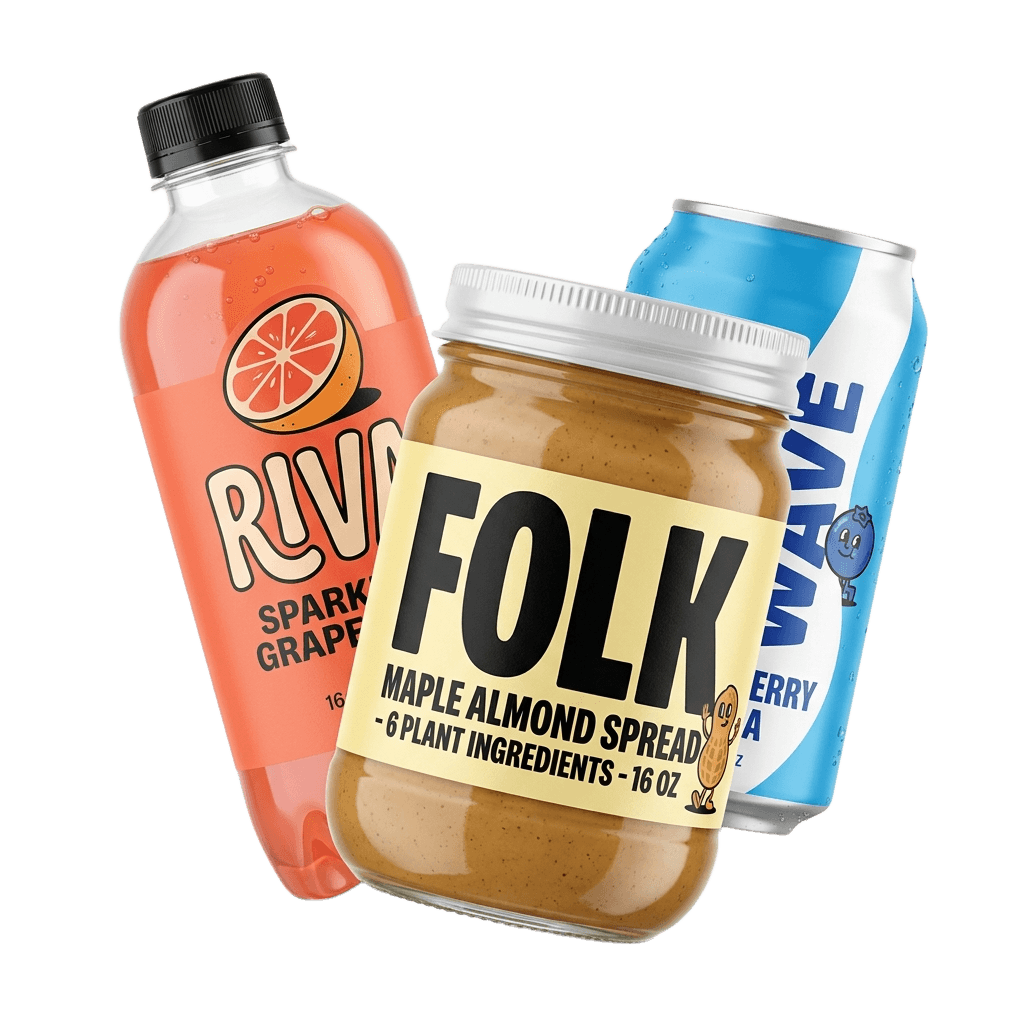
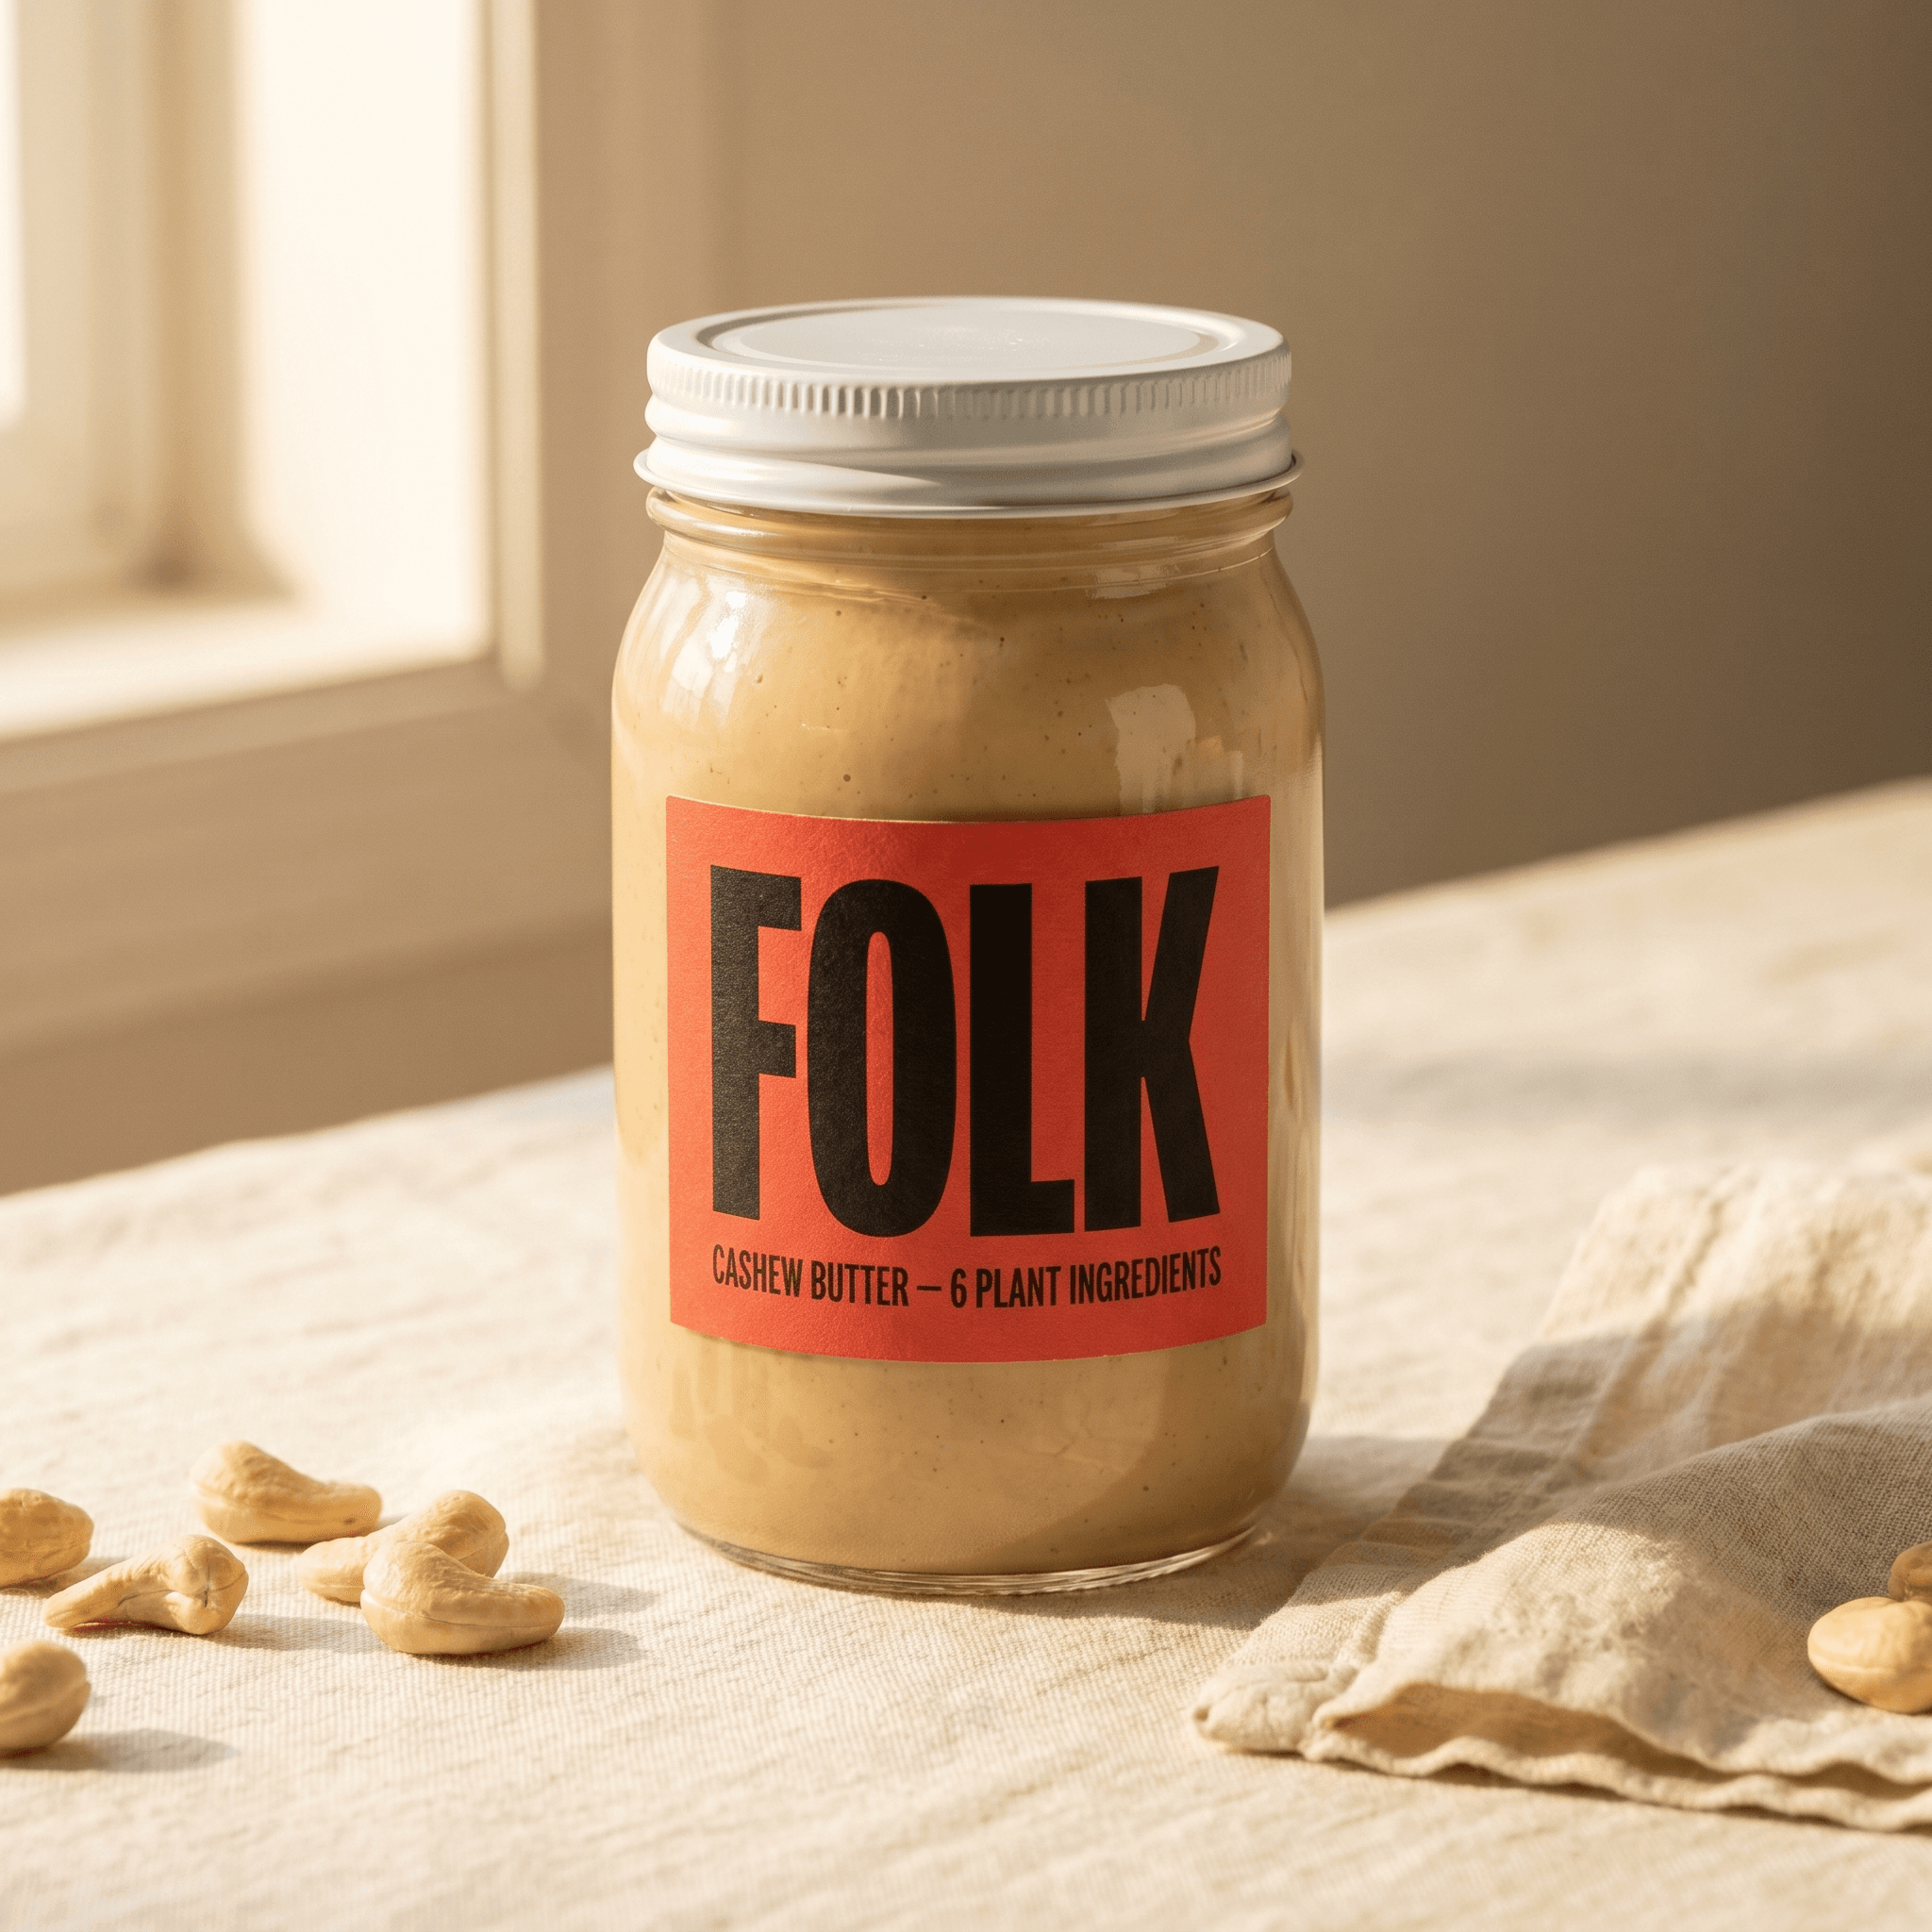
AI product photography takes a single photo of your product - shot on a phone, on any flat surface - and places it into a photorealistic generated scene with accurate lighting, shadows, and surface reflections. It is not a composite. The AI generates a scene that physically matches your product: the light source hits the product from a consistent direction, the surface below the product shows the right reflection, and the background depth blurs correctly behind it.
Pixair AI does not modify the product itself. Background removal isolates the product from the source photo. Scene generation composites it into the target environment with physically correct lighting. The label, packaging, colors, and any text on your product are preserved exactly as photographed - the AI only changes what is behind and around the product.
The output is a single image that looks like a photographer placed your product in that location and shot it - not a product cut out and pasted onto a stock photo.


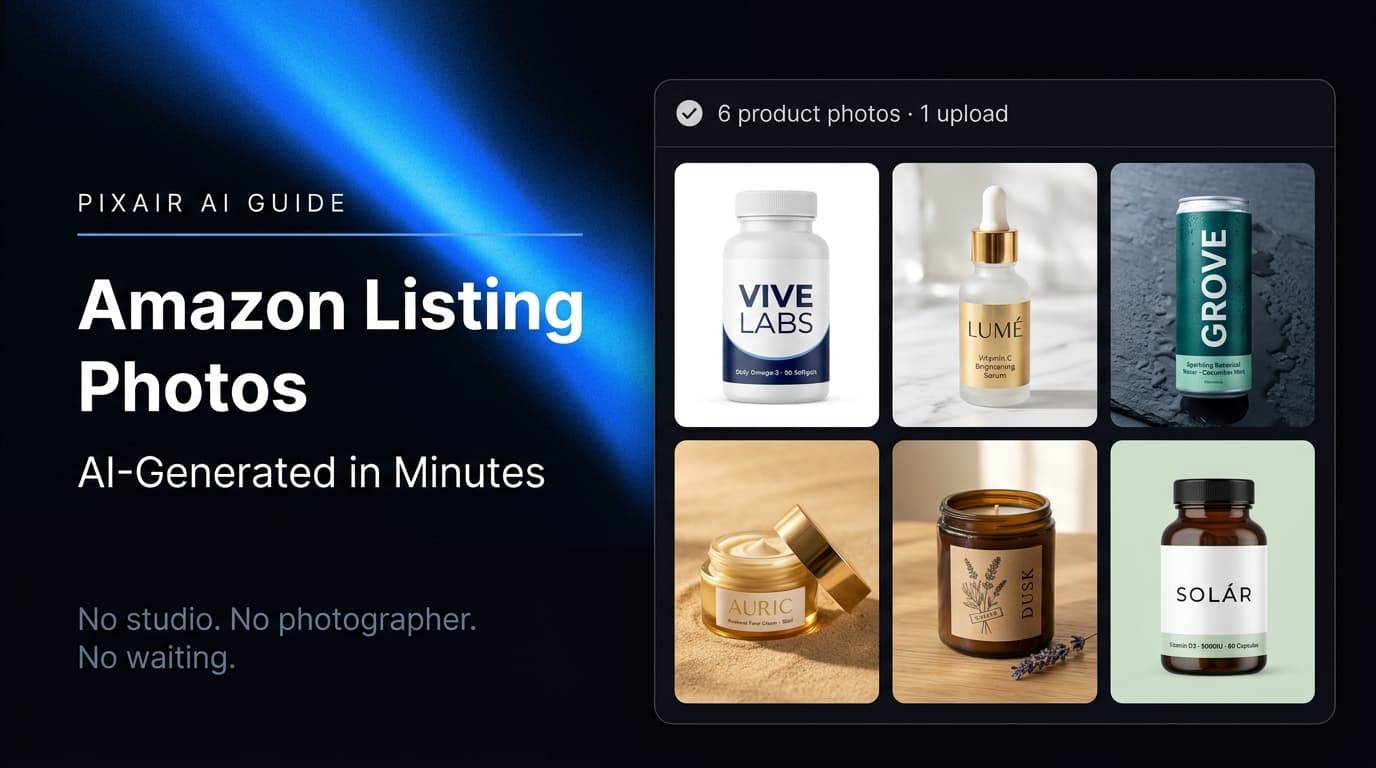
One phone photo. Photorealistic scene. Generated in under 30 seconds.
Step-by-Step: Replace Your Canva Product Photo Workflow with AI
This workflow replaces the full Canva cycle - source image, background removal, scene compositing, and export - with a single tool and fewer steps.
Photograph the product on any neutral surface
Place your product on a white or light grey surface near a window. Phone camera is sufficient - AI generation quality is determined by the model, not the source resolution. Keep the product label or front face toward the camera. One photo session covers your entire catalog.
Upload and describe the scene you want
Upload the product photo to Pixair AI. Type a scene description in plain language: “marble kitchen counter, morning light” or “dark studio with soft rim lighting” or “outdoor garden table, natural daylight.” You are not selecting a template - you are describing an environment and the AI generates it around your product.
Generate multiple scene variations
Generate 3-4 variations per scene type. Each one takes under 30 seconds. Review them and keep the best two per scene. For a standard listing you want: one clean white background, one lifestyle scene matching your brand positioning, and one contextual scene showing the product in use. That is six generations total - three scene types, two kept each.
Use the white background output as your design base
The white background version exports as a clean cutout on pure white - ready for Amazon main image requirements or as the base layer for any overlay work you still do in Canva. If you use Canva for adding callout text, ingredient badges, or promotional overlays, this clean export replaces the manual cutout step entirely.
Upscale and export
Use the built-in upscaler to reach 2000 px. Download and upload directly to your listing, ad platform, or design tool. Total time per SKU across all three scene types: under 20 minutes.

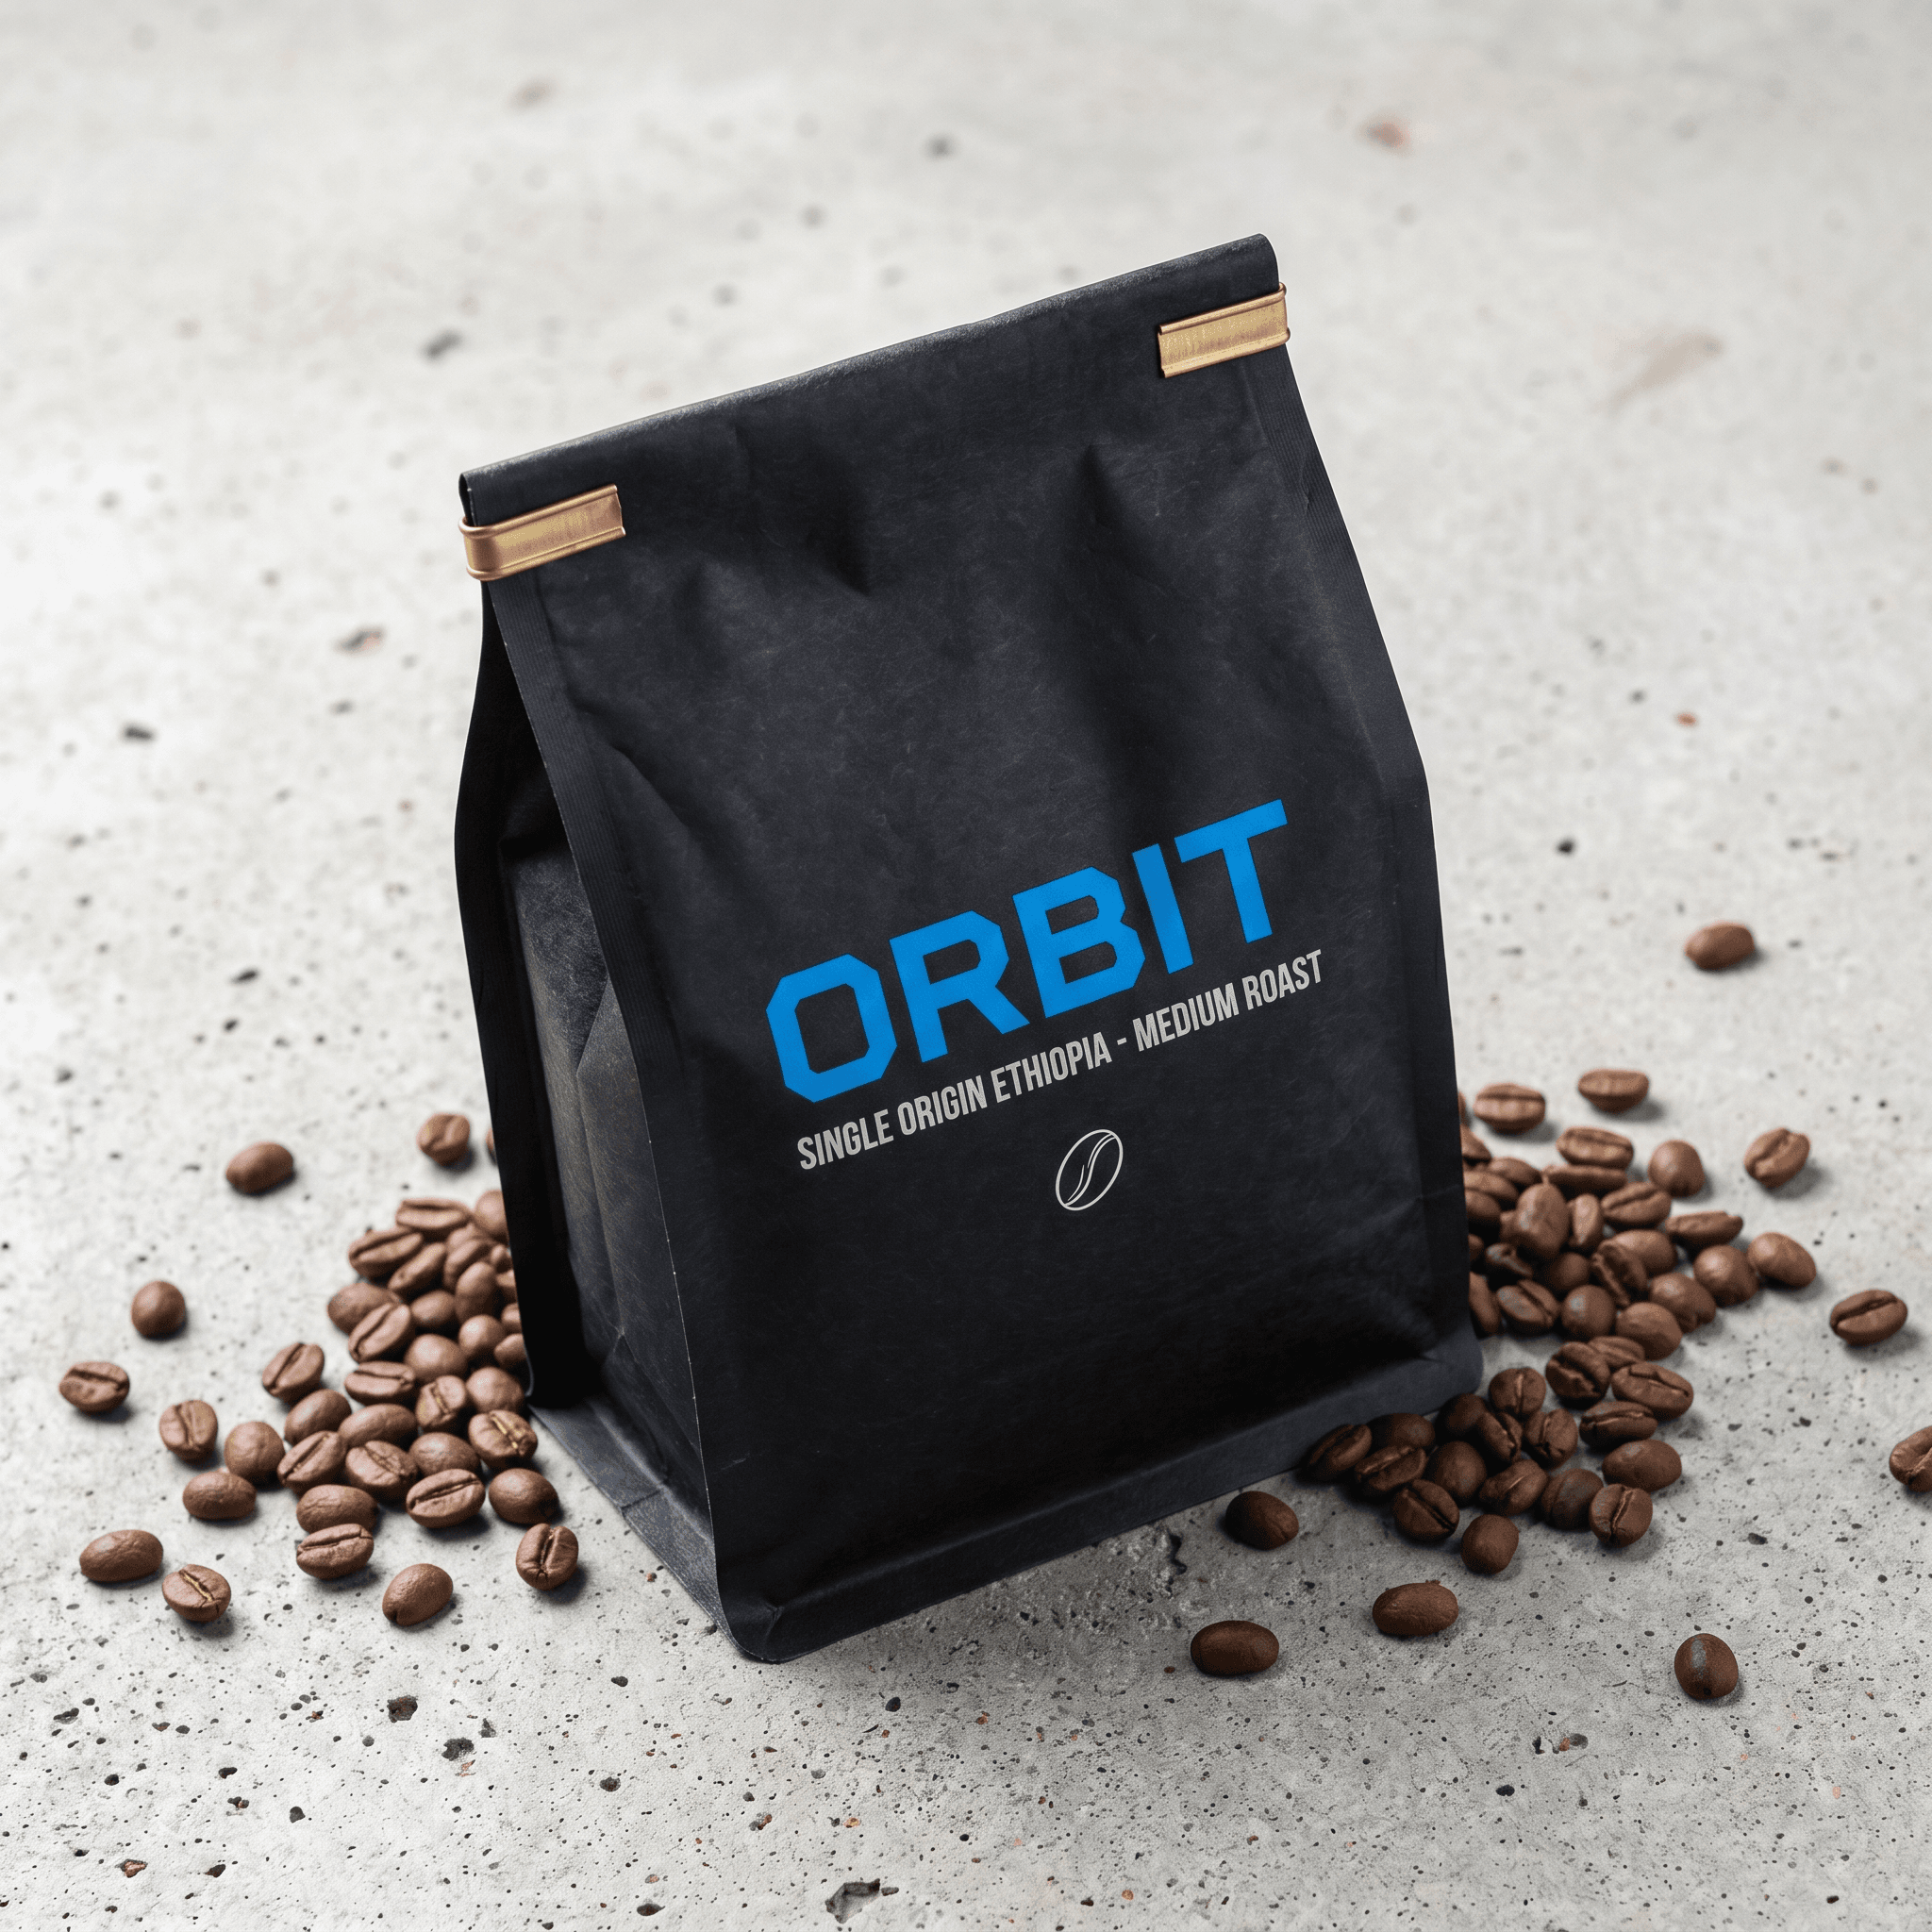
Hero burst
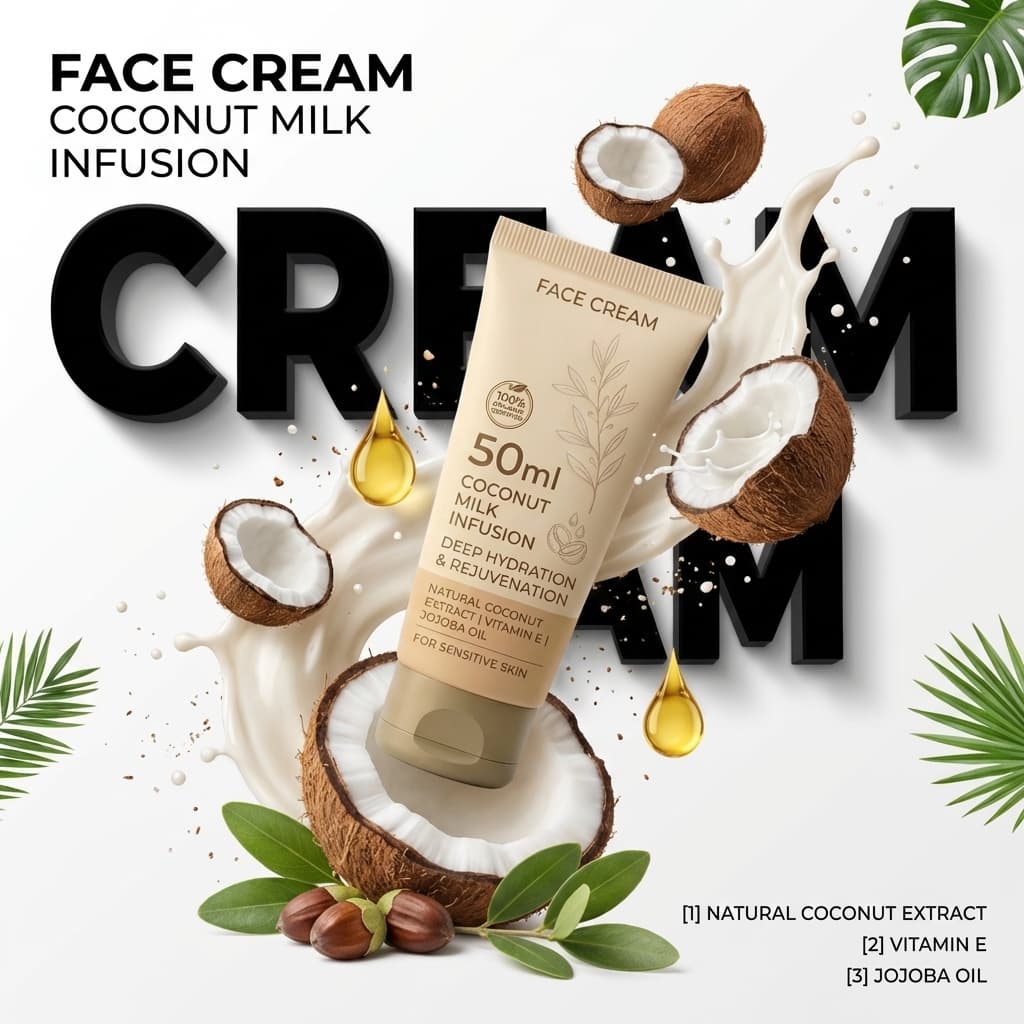
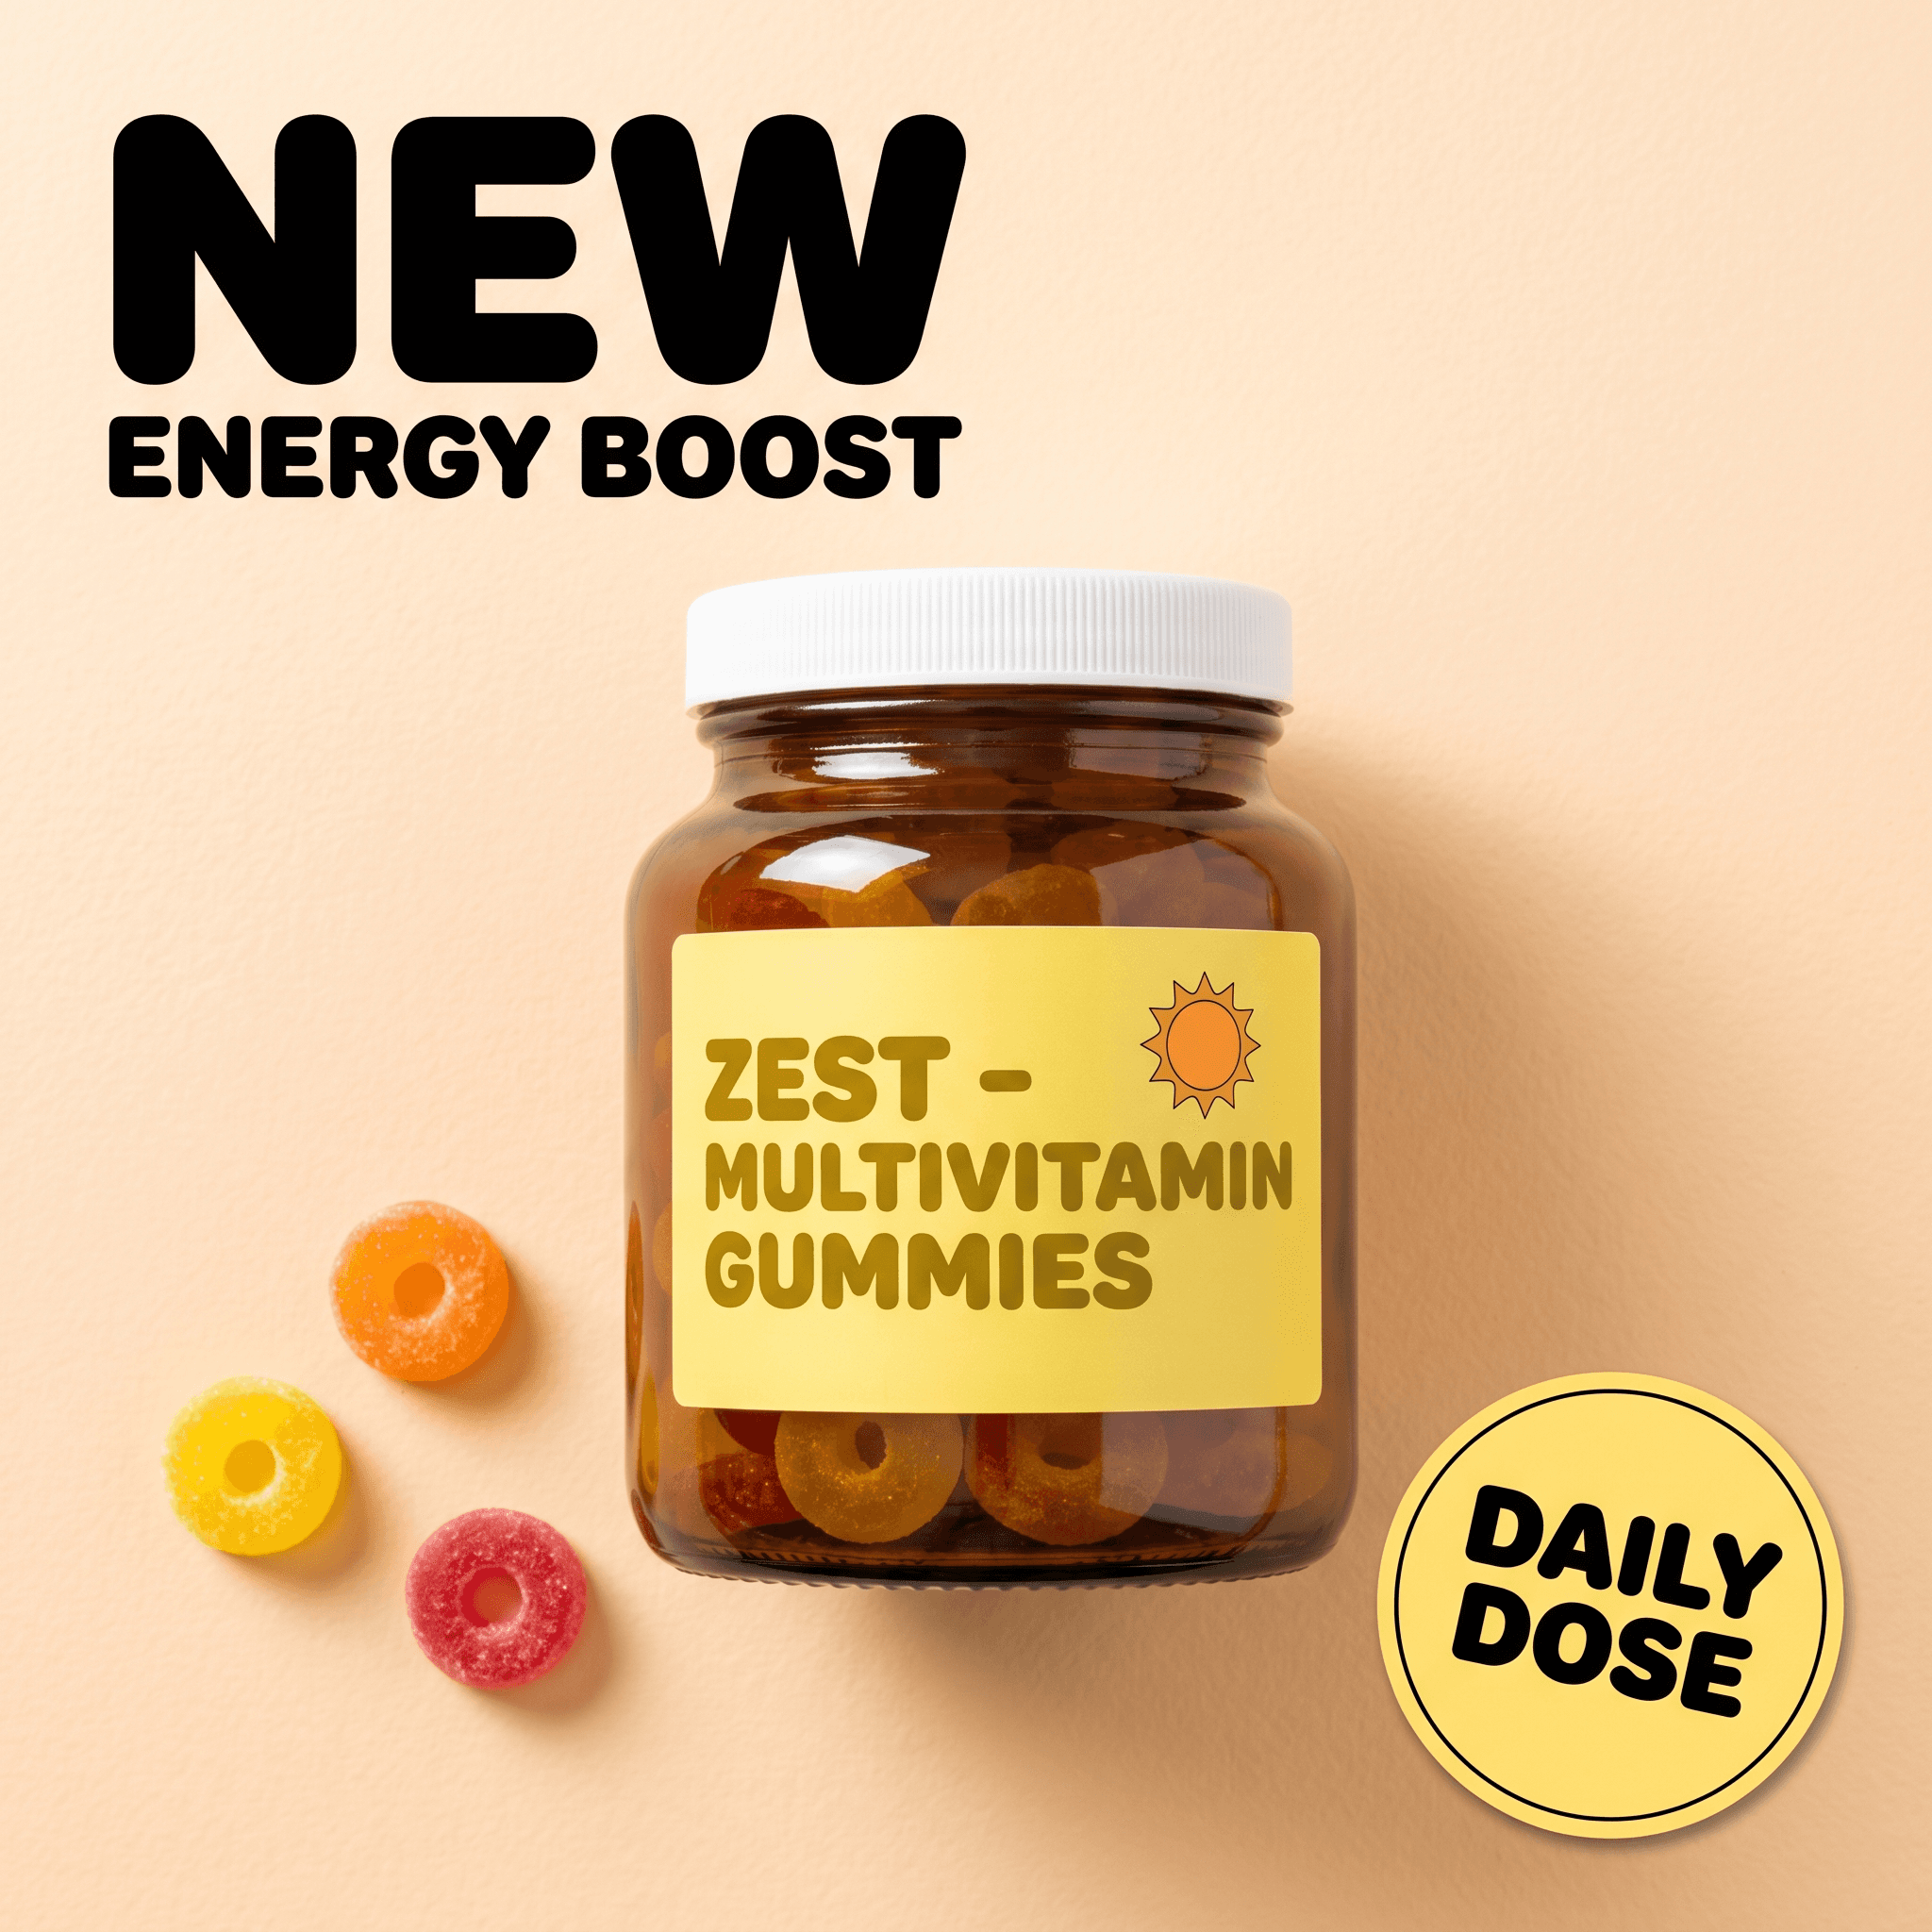
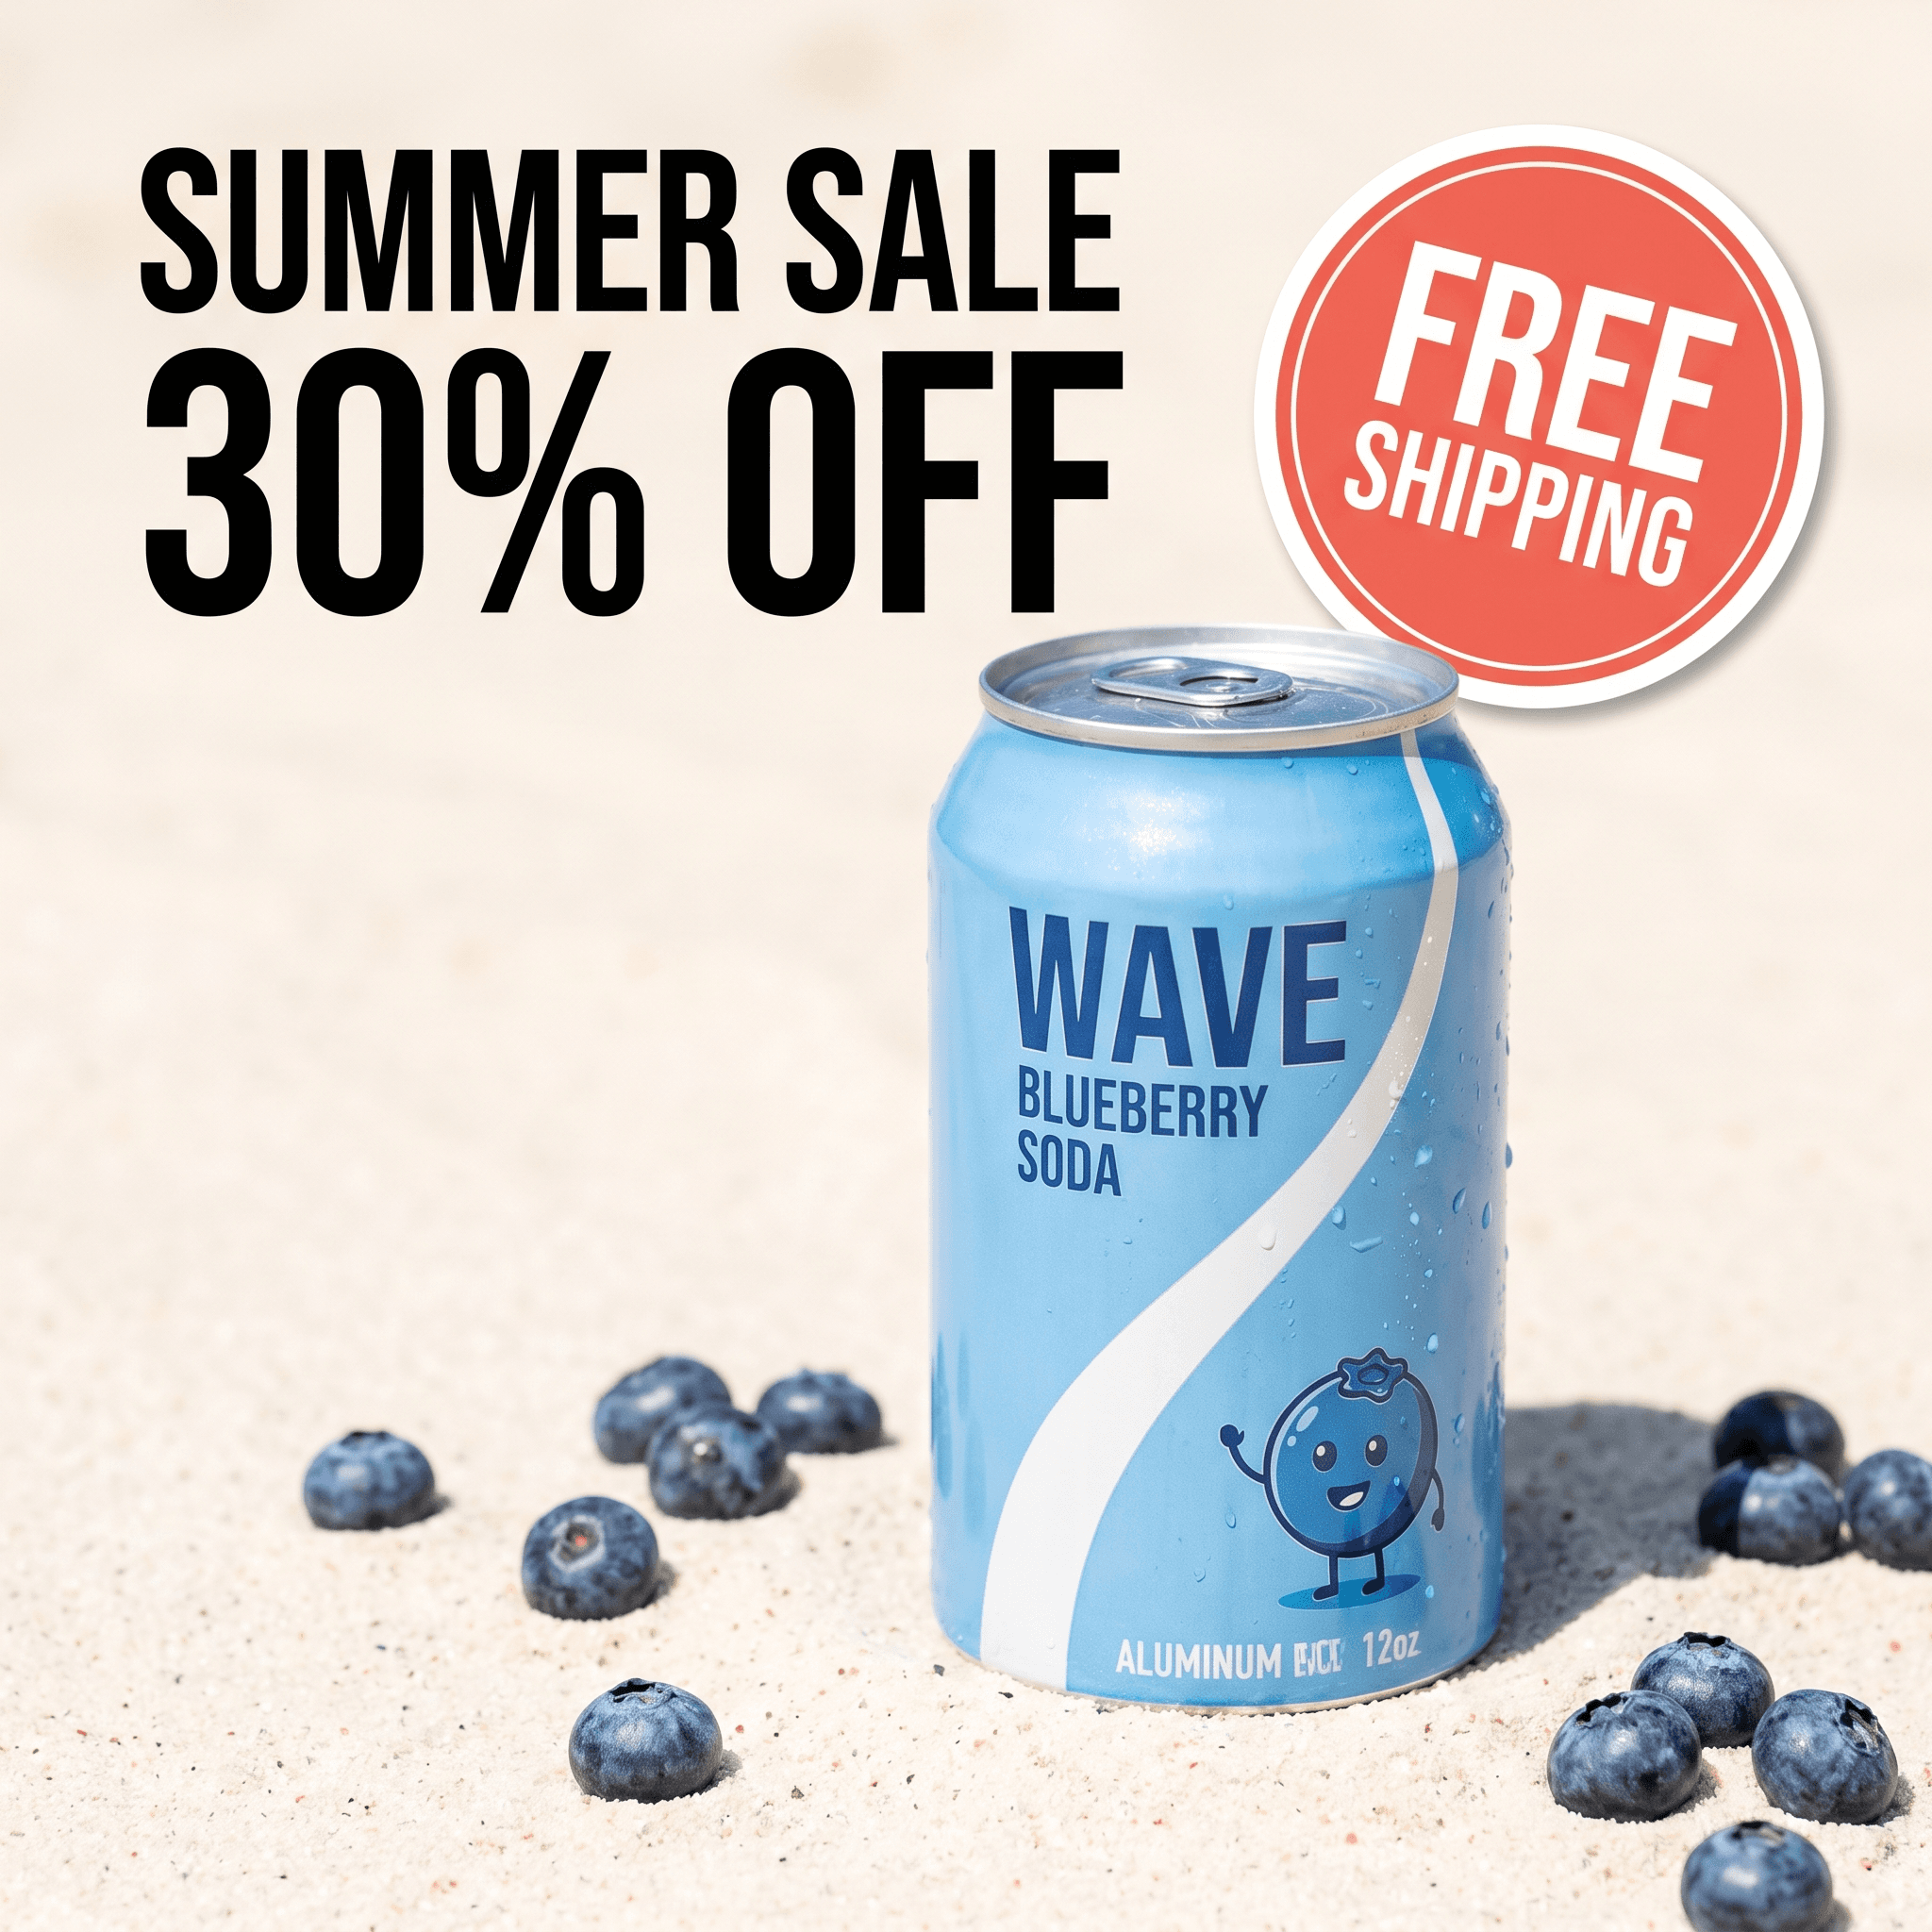
Ad maker

Stories / Reels
AI-generated outputs across product photography and ad formats.
Canva vs. Pixair AI for Product Photography
Canva
Design tool
AI photography
Canva
Design tool
AI photography
Background removal
Paid add-on, inconsistent on complex shapes
Built-in background removal - clean edges on all product types
Scene realism
Manual composite - mismatched lighting
AI generates the scene around your product with correct lighting and shadows
Time per SKU (3 scene types)
45 - 90 min manual design
Under 20 min
Batch generation
None - each image is a separate design session
Regenerate with one click, same scene applied to any product
White background for Amazon
Manual - depends on removal quality
Built-in preset, RGB 255/255/255 compliant
Product label preservation
Product image is not modified
Product not regenerated - label and packaging preserved pixel-accurate
Cost
Canva Pro $15/month (required for background removal)
From $24/month - AI generation included
Output quality
Composite look, visible seams at edges
Photorealistic - product appears native to the scene
See Pixair AI pricing - all plans include AI generation, background removal, and upscaling. Starts at $24/month. If you are also evaluating other tools, see how Pixair AI compares as a Photoroom alternative and a Pebblely alternative.
5 Tips for Switching from Canva to AI Product Photography
Keep Canva for text overlays, replace it for photography
Canva is still useful for adding callout text, icons, and promotional banners on top of a clean product image. The workflow that works: generate the clean product photo in Pixair AI, export it, then bring it into Canva as the base layer for any design work. You get AI-quality photography with the design flexibility you already know.
Describe lighting, not just the scene
Canva users default to picking a background image visually. In Pixair AI you describe the environment. Prompts that include lighting direction produce noticeably better results: “soft natural light from the left” or “dramatic studio rim light from above” instead of just “kitchen counter.” The AI uses the lighting description to match shadows and highlights on your product.
Generate three scene types per SKU in one session
Structure every product session the same way: white studio background first, then a lifestyle scene, then a contextual or editorial scene. Three scene types is enough for any ecommerce channel - Amazon main image, secondary lifestyle images, and social or ad creatives. Batching all three scenes in one session takes 15-20 minutes and produces an asset library instead of a single image.
Use the same scene prompt across your product catalog
Canva requires manually repositioning every product on every template. In Pixair AI, you can reuse the same scene description across every SKU in a catalog. The result is a visually unified product library where every product photo has the same lighting, surface, and atmosphere - which matters significantly for brand trust on marketplace storefronts.
Stop using stock photos as backgrounds
The most common Canva workaround is cutting out the product and placing it on a downloaded stock photo. Buyers have seen every stock kitchen, marble surface, and outdoor table thousands of times. AI generates a unique scene every time - the lighting, surface texture, and background depth are generated specifically for your product and prompt, not pulled from a stock library.
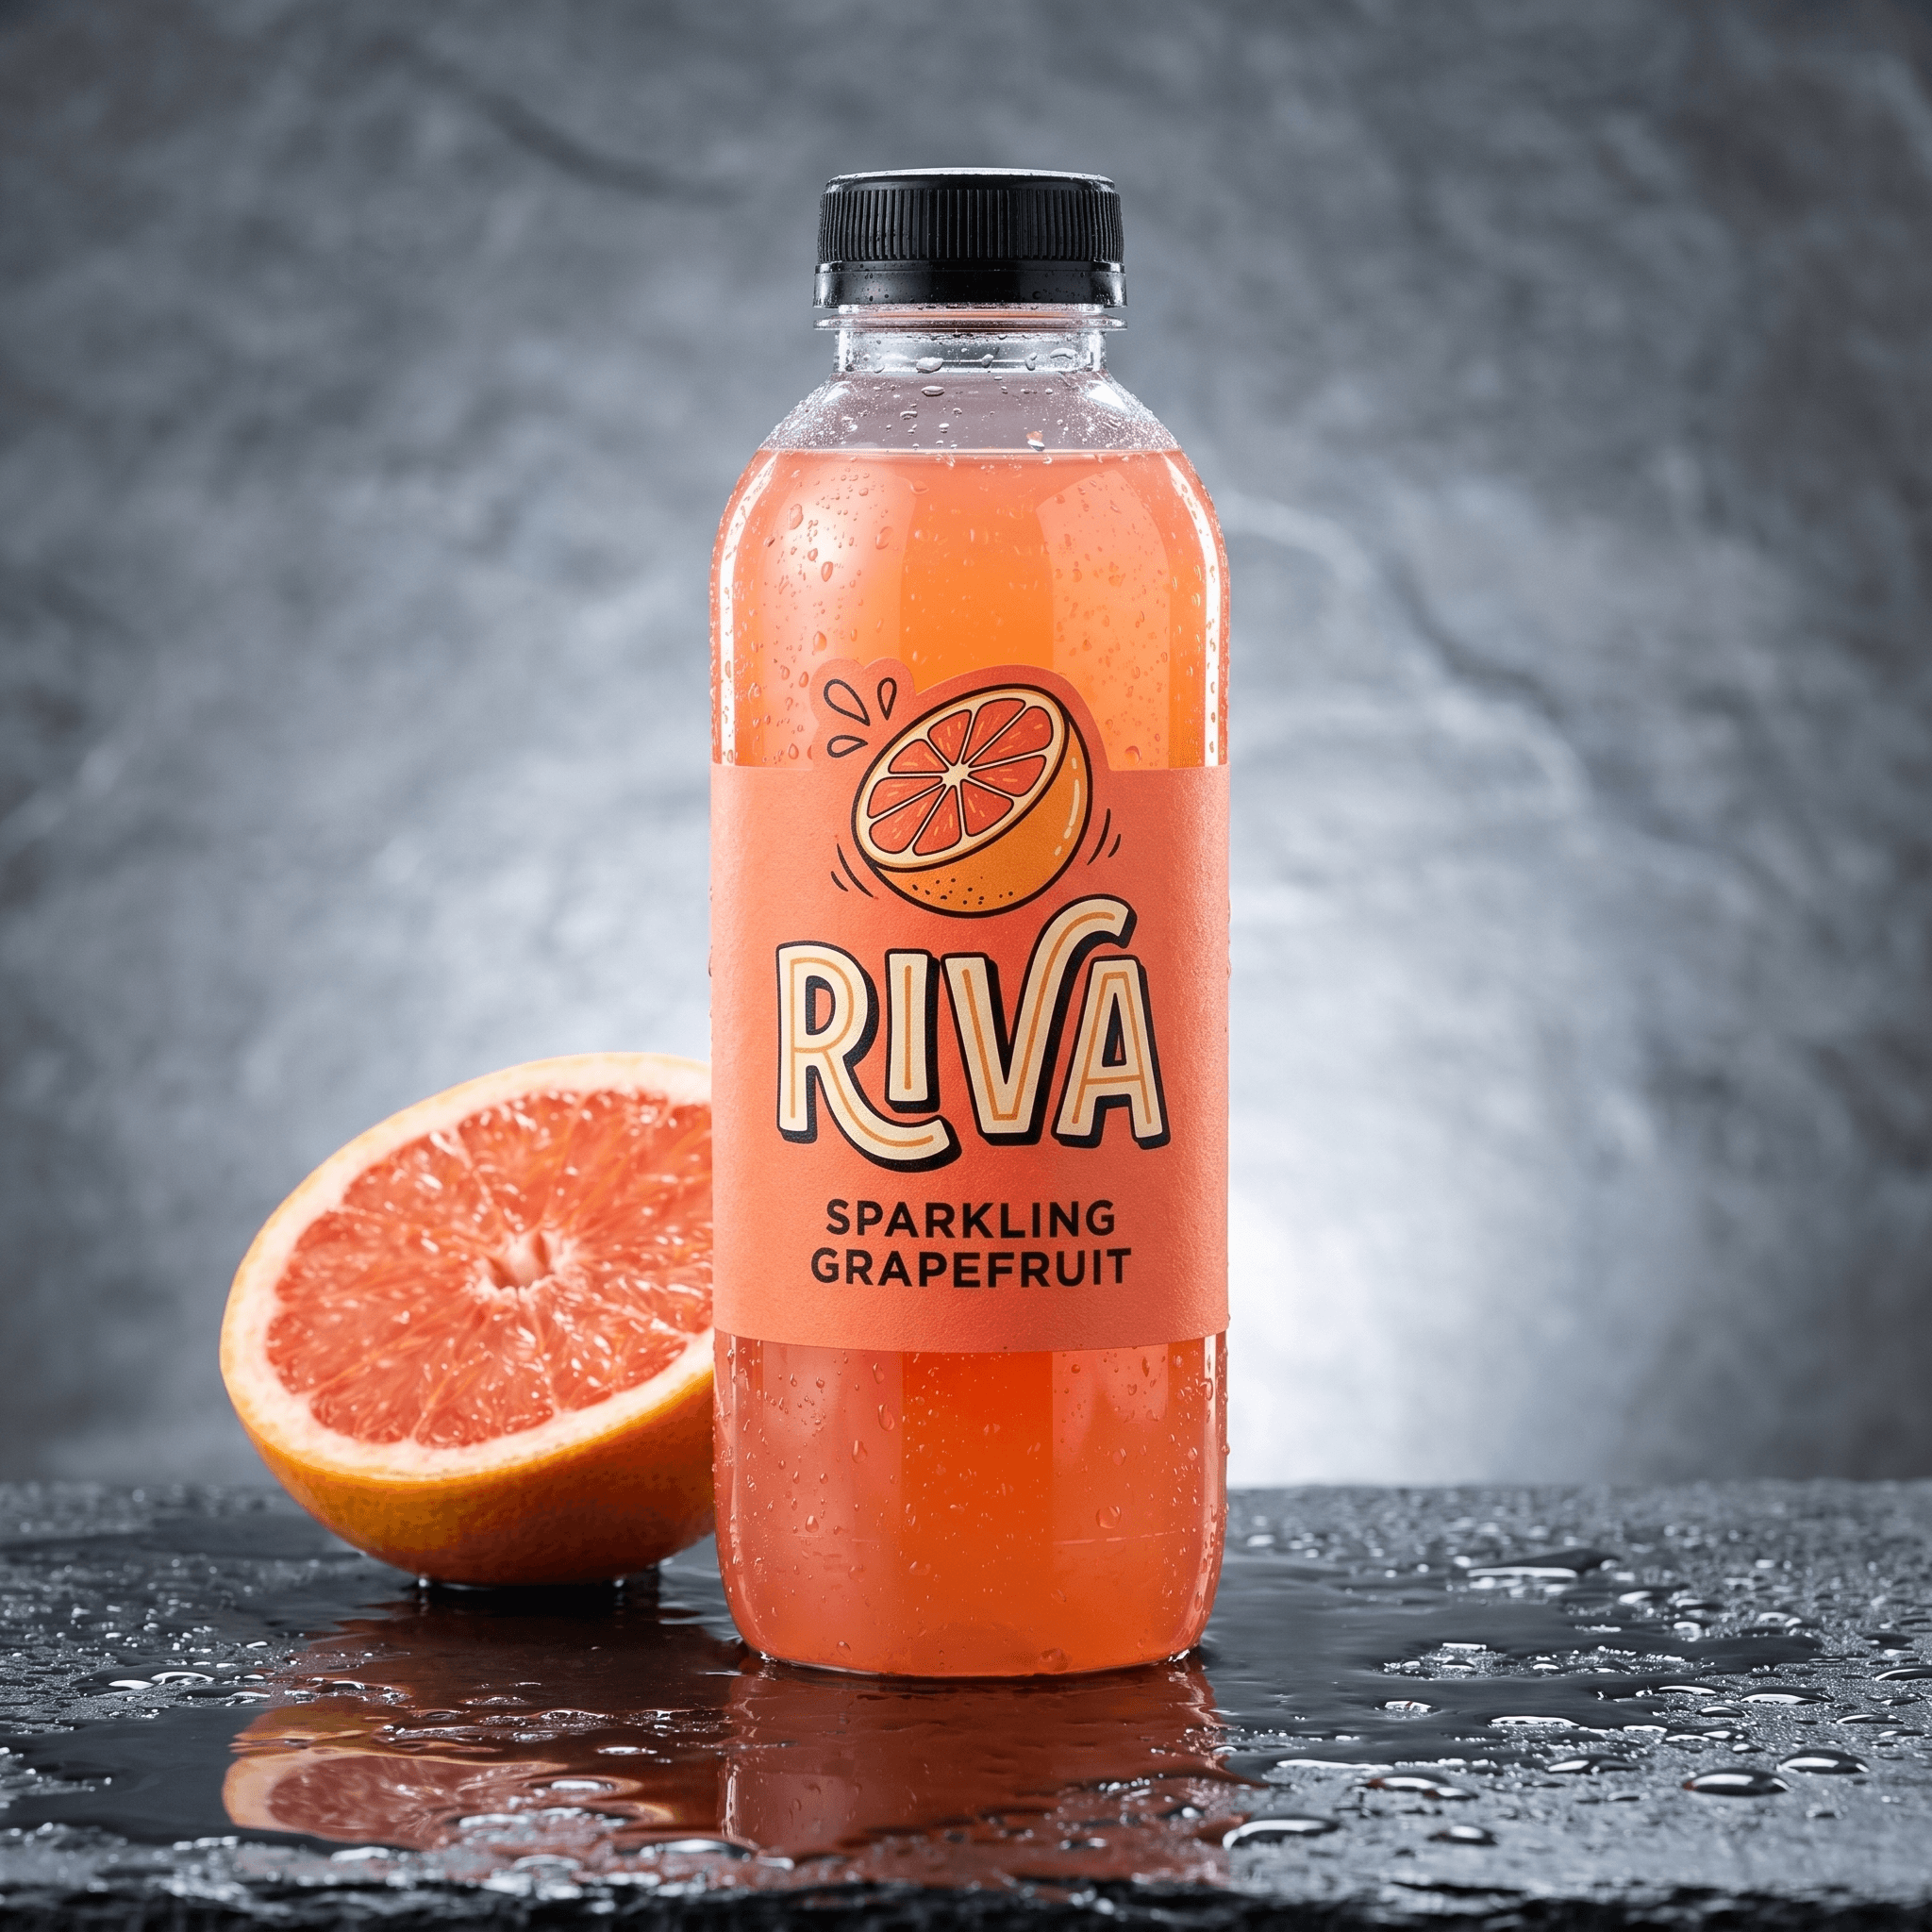
Real studio scenes
not Canva composites
Start for freeFrequently Asked Questions
Yes, and it is a common workflow. Use Pixair AI to generate the photorealistic product image, then bring that image into Canva as a base layer for adding promotional text, benefit callouts, or brand overlays. You get studio-quality photography as the foundation and retain the design flexibility Canva provides for text-heavy assets.
Yes. Pixair AI includes background removal as part of the generation workflow. It produces cleaner edges than Canva's built-in tool, especially on products with complex silhouettes, transparent packaging, or fine detail at the edges. The clean cutout is available as a standalone export if you only need the removed background.
Canva Pro costs $15/month and requires a paid subscription for background removal. Pixair AI starts at $24/month and includes AI scene generation, background removal, and upscaling in the same plan. For product photography specifically, Pixair AI replaces Canva Pro without any additional cost for the tools Canva charges extra for.
Yes. Amazon allows AI-generated product images as long as they accurately represent the physical product. Pixair AI preserves the original product - it changes the background and environment, not the product itself. The white background preset meets Amazon's main image requirements (pure white RGB 255/255/255) and the product fill and label legibility requirements apply identically to AI-generated images.
Packaged goods, beauty and skincare products, supplements, candles, food and beverage, home goods, and apparel accessories all produce excellent results. Products with highly reflective surfaces like clear glass bottles or polished chrome present more challenge - though rim lighting prompts can still produce strong results. AI photography struggles most with clear transparent packaging where the background shows through the product.
Keep reading
Related articles
Amazon Product Image Generator - AI Photos for Listings
Pixair AI is an Amazon product image generator - turn one phone photo into a compliant white-background main image (RGB 255/255/255) plus lifestyle listing images in minutes.

AI Product Photography for Amazon Sellers - Full 9-Image Sets
Amazon suppresses non-compliant listings and ranks by CTR. See how AI product photography handles white background compliance, lifestyle secondary images, and full 9-slot image sets - no photographer.

Best Caspa AI Alternative - Product Photos + Ad Generation
Caspa AI focuses on AI human models. If you sell packaged products and need clean product scenes, ad creatives from your label, and no $33/month paywall to start - Pixair AI is built for that.